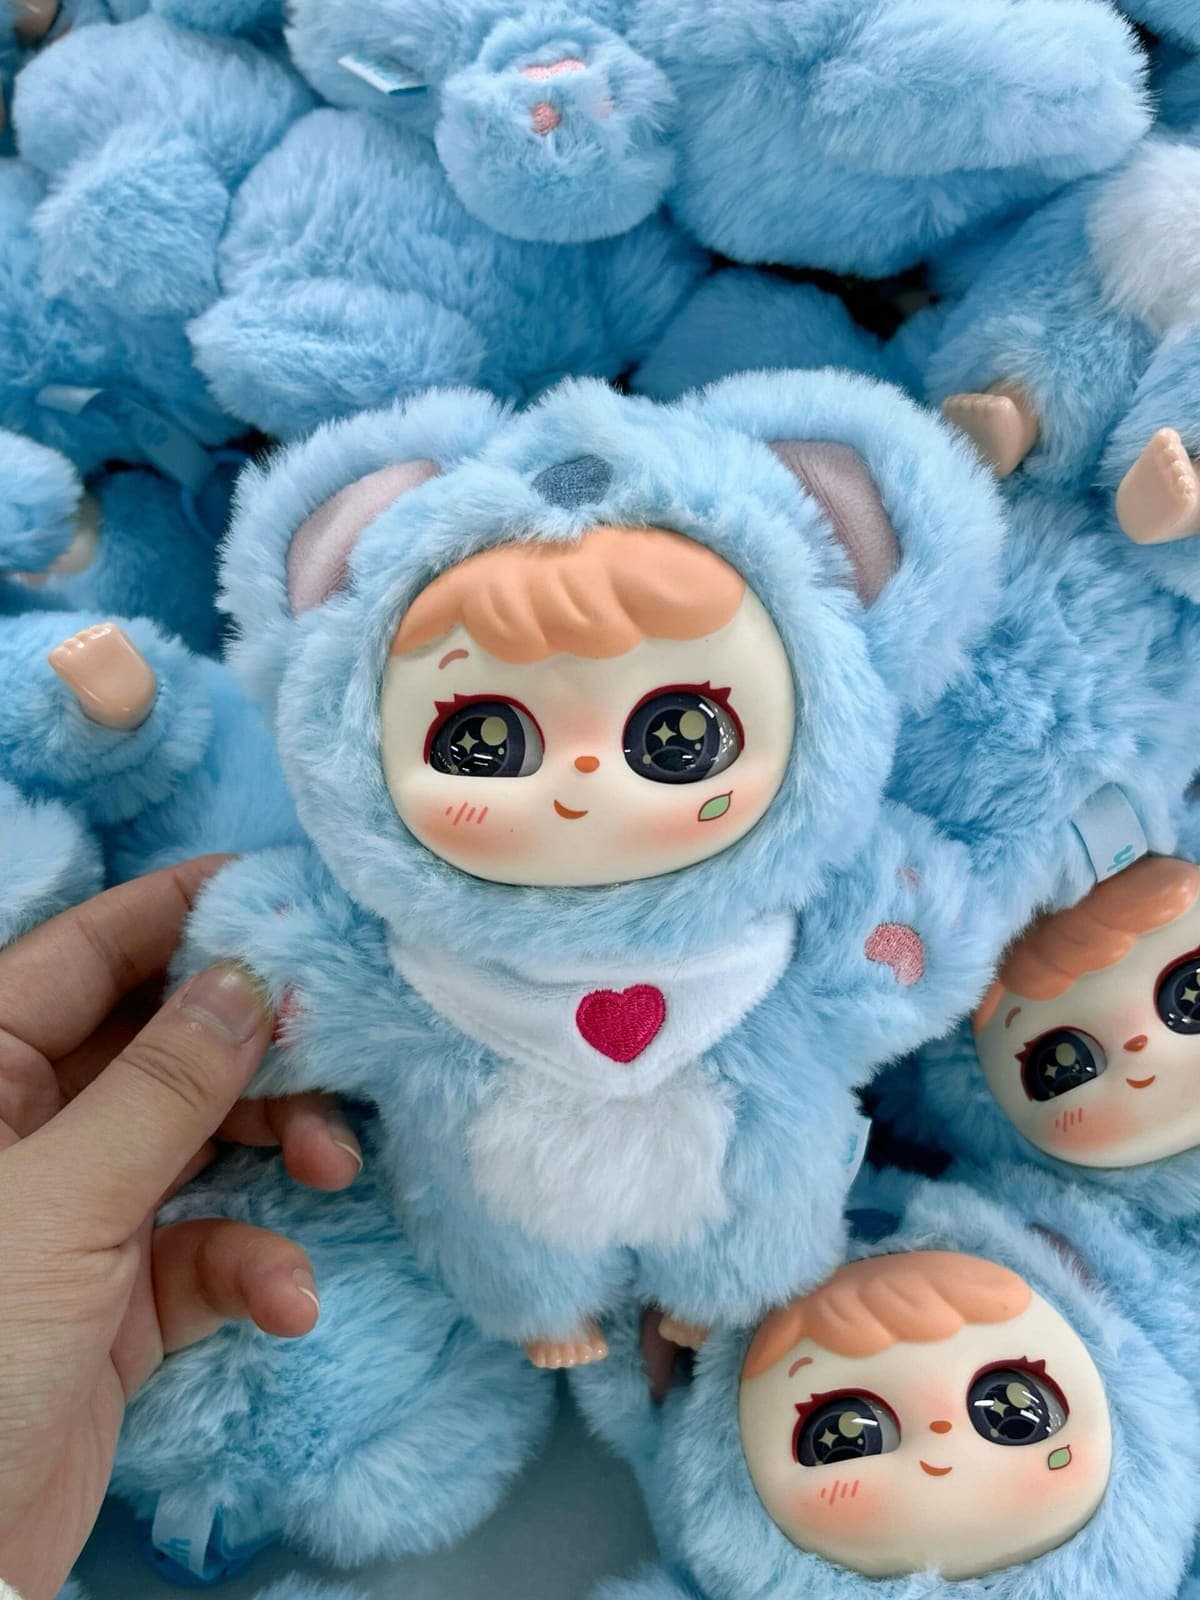
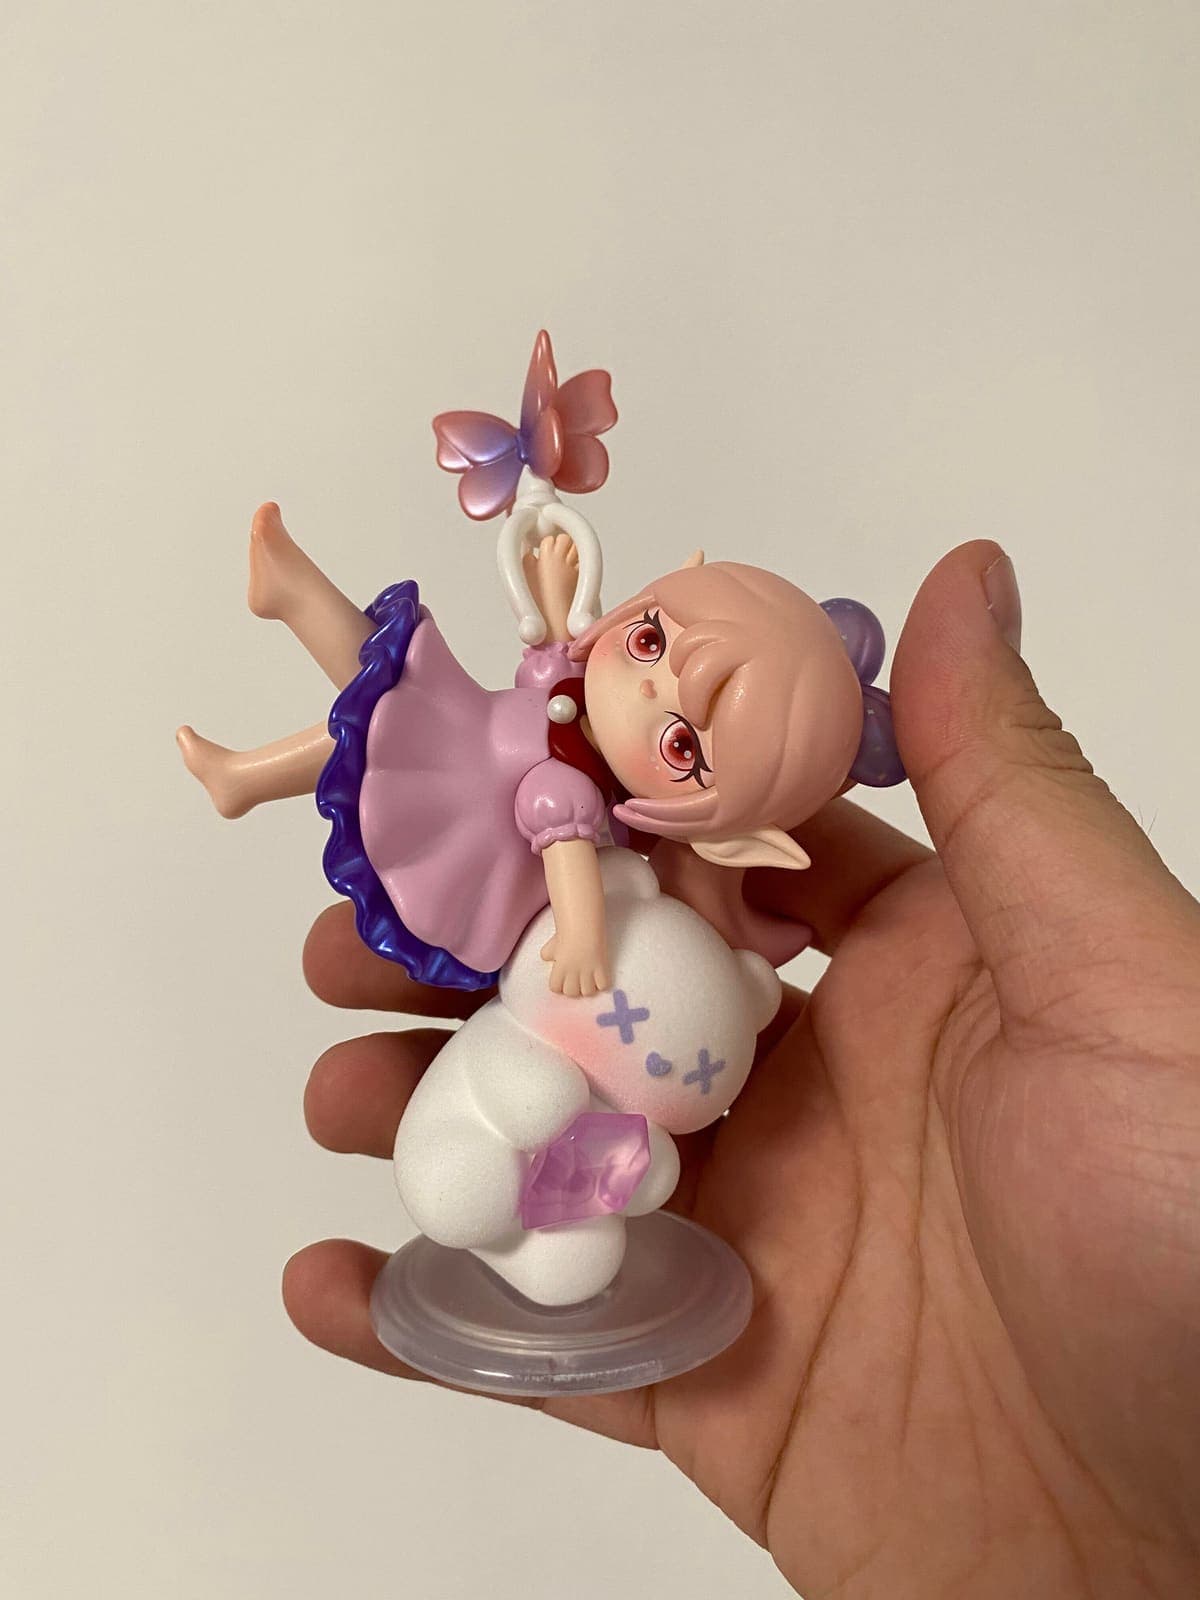
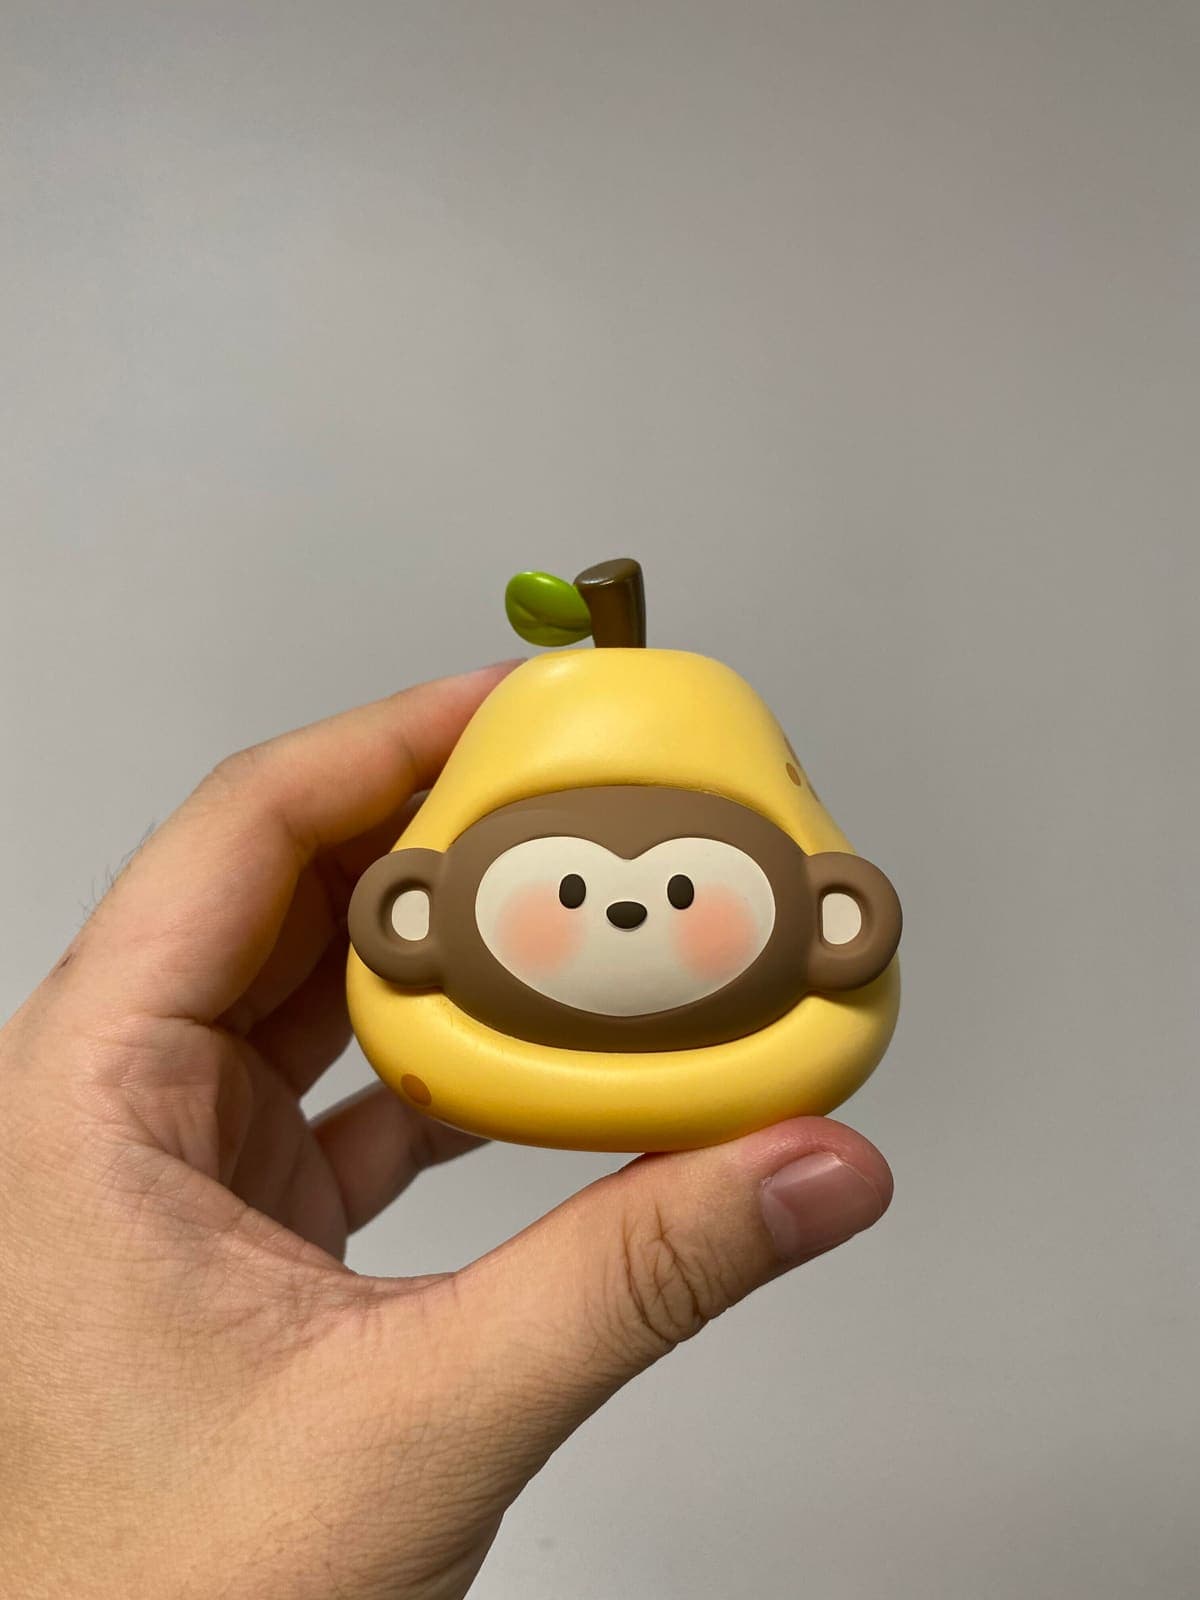
A step-by-step look at rotocasting (slush molding) for vinyl toys — molds, PVC plastisol, wall thickness, painting and common defects to avoid.
What is rotocasting?
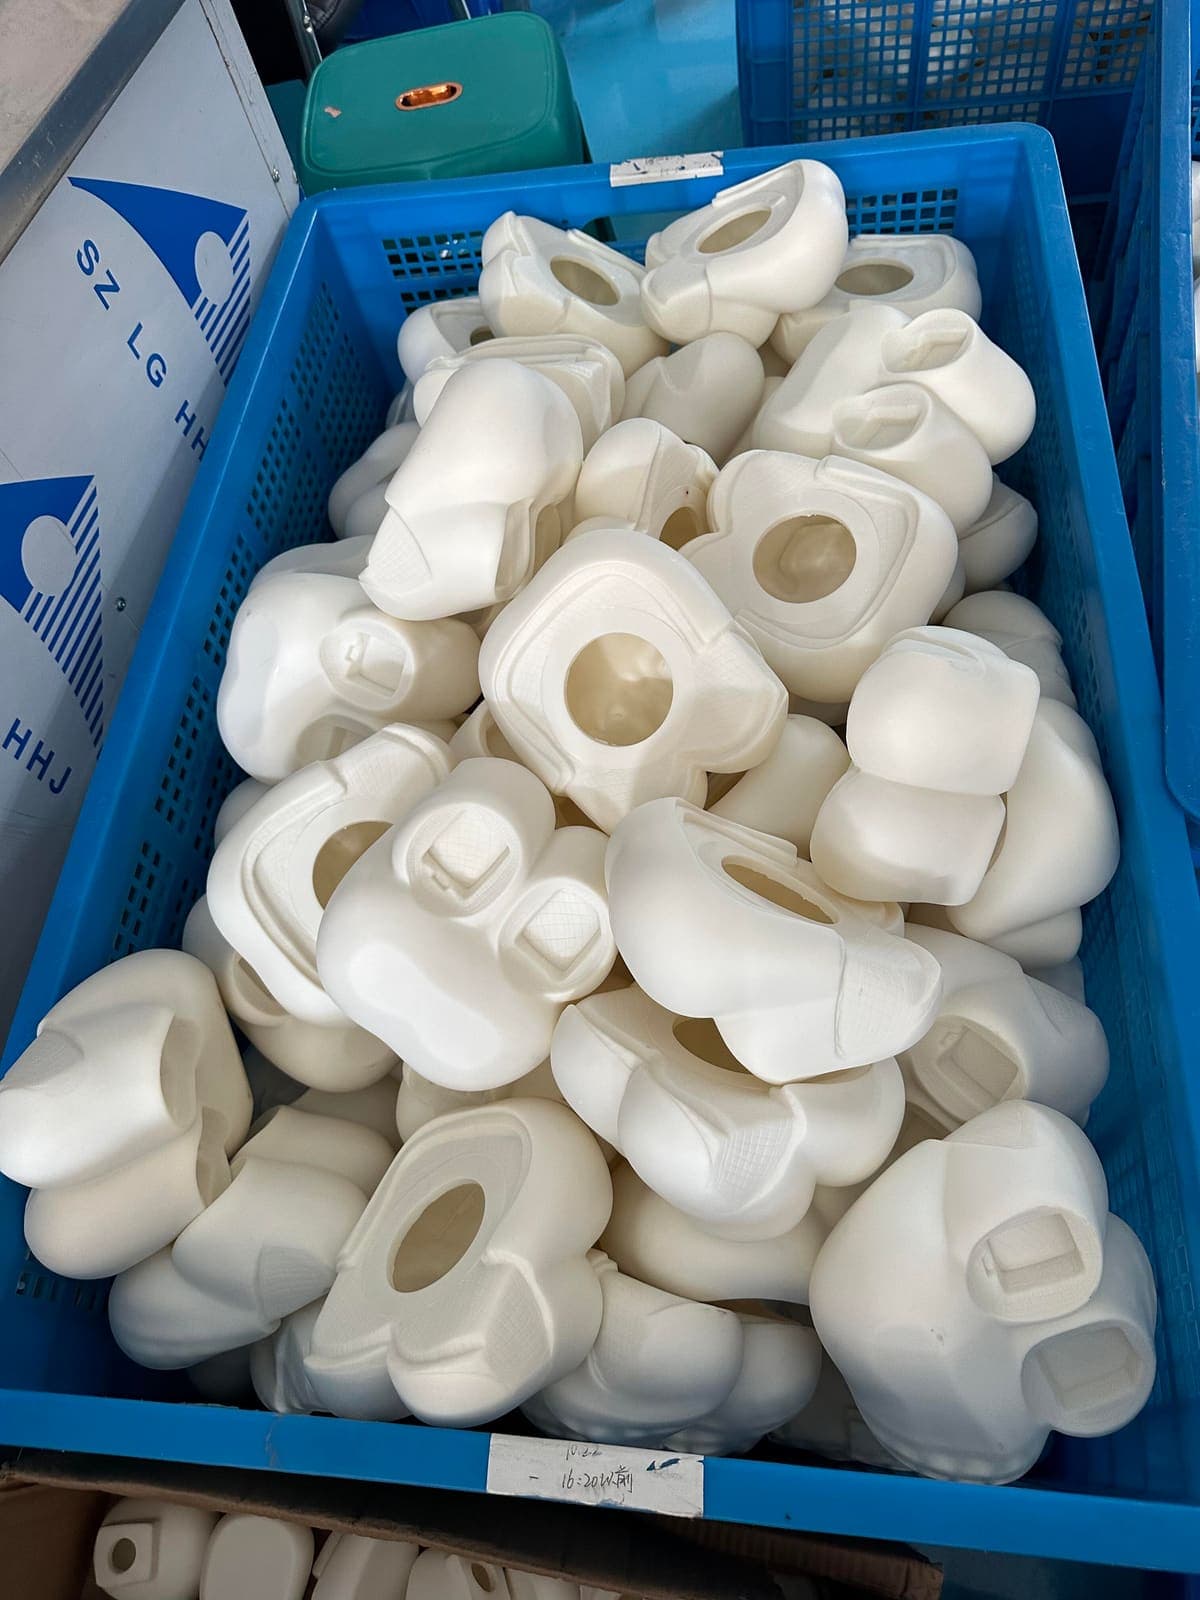
Rotocasting, also called rotational casting or slush molding, is the process used for most soft vinyl toys. Liquid PVC plastisol is poured into a metal mold, which is heated and rotated so the material coats the inside wall. After cooling, the soft, hollow part is pulled out of the mold.
Step 1 — The mold
Rotocast molds are made from aluminium or copper, usually by electroforming or CNC machining from the approved 3D sculpt. Because the mold only needs to hold liquid, tooling cost is much lower than injection molding — a key reason why designer vinyl toys are viable at a few hundred pieces.
Step 2 — PVC plastisol
Plastisol is PVC powder mixed with plasticizer. The ratio decides how soft the finished part feels (Shore A hardness). For toys we use phthalate-free plasticizers and pre-color the plastisol so that scratches do not reveal a different color underneath.
Step 3 — Heating, rotating and cooling
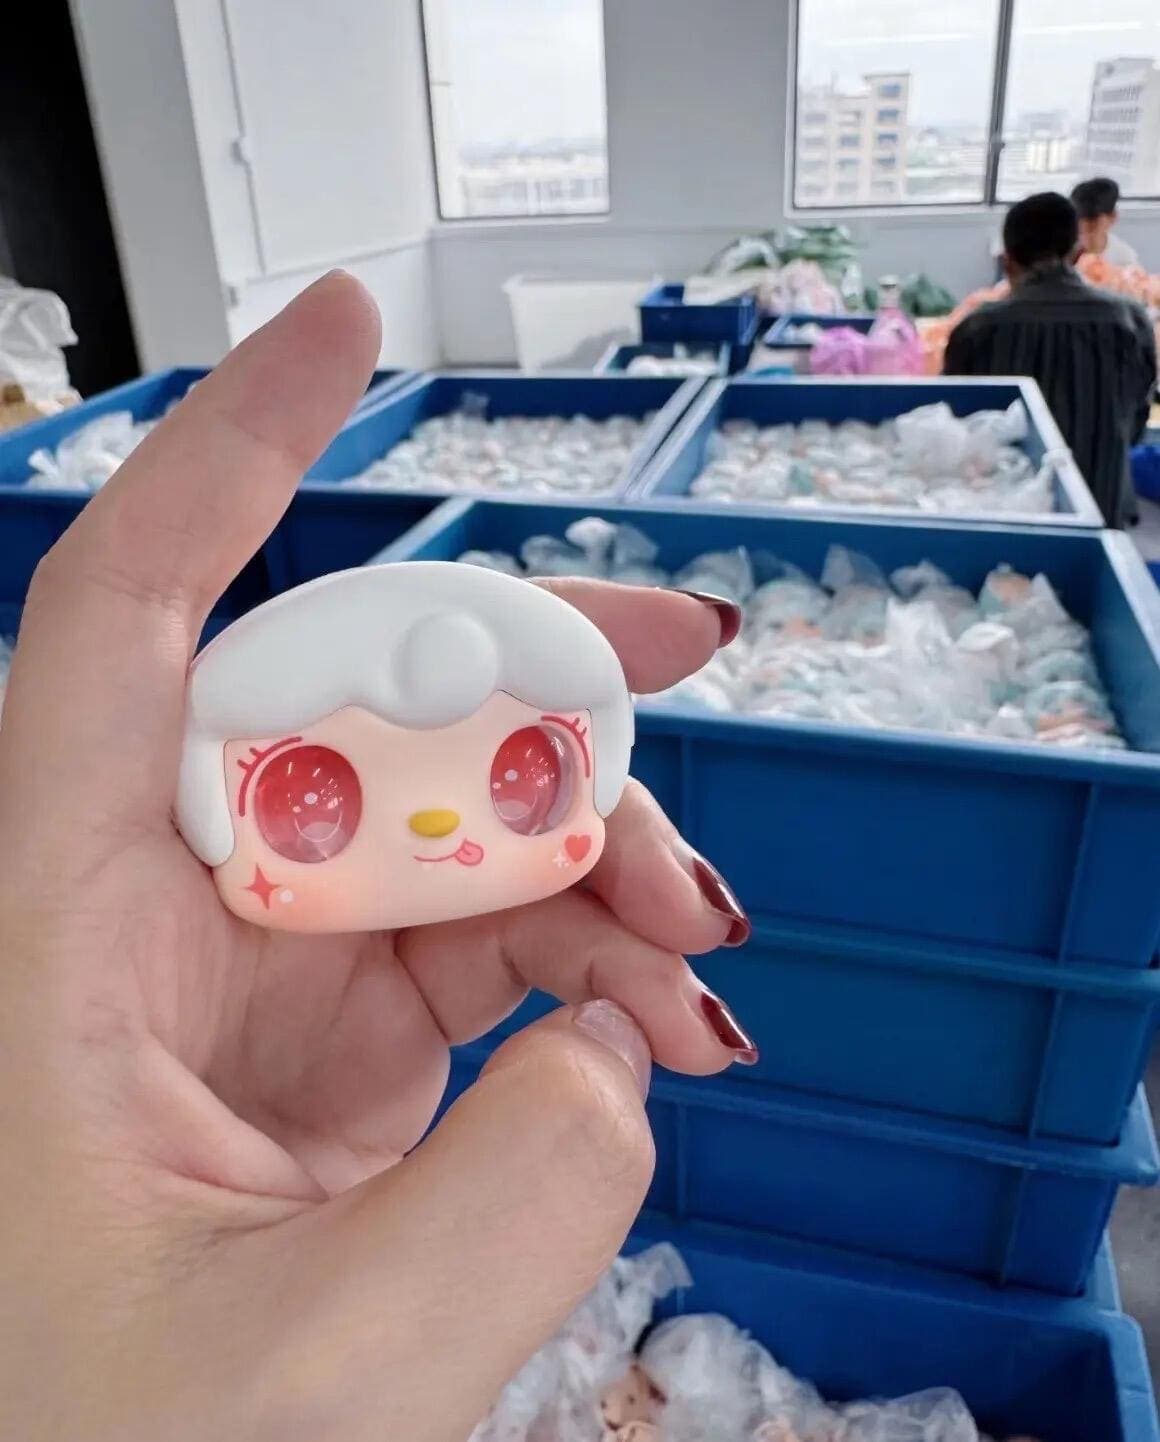
The filled mold rotates in an oven at roughly 200–250 °C. Time and temperature control the wall thickness: thicker walls feel firmer and keep their shape, thinner walls are lighter and squeezable. After cooling in water, workers pull the part out by hand — vinyl is flexible enough to come out of undercuts.
Step 4 — Trimming, painting and printing
Openings are trimmed and small parts may be tumbled smooth. Then come spray painting with masks, pad printing for eyes and logos, and hand painting for blush and highlights. Each layer is cured before the next.
Common rotocasting defects and how we prevent them
- Uneven wall thickness — controlled by rotation speed and fill weight
- Bubbles and pinholes — prevented by de-airing plastisol
- Color mismatch — checked against the approved color chip each lot
- Paint misregistration — fixed jigs and first-piece approval for every shift